The Journal · Field Notes
When homeowners reach out for the first time, the questions are almost always the same. How does this actually work? How long will it take? When do I pay? What do I need to do during construction? The right way to answer those questions is the long way. Below is the honest, end-to-end walk-through of what working with us looks like, from the first phone call to the day you finally sit on the finished patio. Seven stages. Some long, some short, all worth knowing about before you commit. You can also see the polished version of this on our [Our Process](/our-process.html) page; this is the conversational version with the details we usually save for the design meeting.
The first step is a 45-minute meeting at your home with one of our designers. We walk the property, measure the space, take photos, and listen to what you have in mind. We bring sample boards. We answer questions about materials, our current schedule, design choices, and rough pricing.
Sometimes the project is simple enough that we can give you a ballpark on the spot. More often we leave with information and put together a real proposal that we deliver about a week later. The proposal includes a written quote, a scope description, and a 3D design rendering of the finished project so you can see what you are committing to before you sign anything.
A few things to know going into this meeting. Our project queue runs roughly 2 to 3 months out almost year-round. So if you are sitting at the design meeting in October hoping to have a patio by spring, the timeline only works if you keep the ball rolling. If you wait until February to commit, spring becomes summer.
You can schedule the appointment at 816-499-2547 or through the Get Started page. Either works.

Once you approve the proposal, the next step is fast. We send a contract, you sign it, and you put down 20 percent of the project total as a deposit. The remainder is not due until the project is complete.
That deposit does two real things. It locks your spot in our build queue so the schedule does not slip behind a later customer. It also funds the materials order, since most pavers, stone, and specialty items have lead times of 2 to 6 weeks from the supplier. We cannot order materials for a project that has not been formally committed.
The contract itself is straightforward. Scope, materials, timeline, payment schedule, warranty terms. We walk through it with you before signing. We are happy to answer questions and adjust language where it makes sense.

This is often the longest stage and the one that surprises homeowners. Between signing and the day the crew shows up, there can be anywhere from 2 weeks to 4 months depending on where you are in the queue and what the season looks like.
A few things to do during this window.
Finalize material selections. Picking the exact paver, stone, cap, stain color, and any other selections. We will have shown you options at the design meeting, but the final selections are best locked in well before the build starts.
Confirm permits. Some cities require permits, some do not. We covered the city-by-city breakdown in our permits blog. Most permits take 2 to 6 weeks depending on city, so the right time to get them moving is right after contract signing, not just before the build date. We are happy to handle the permit application for you as a service.
Plan for outdoor furniture and decor. Anything currently sitting on or near the project area will need to be moved when the build starts. Plan ahead for where it will go.
Identify your electrician and plumber if you need them. Outdoor kitchens, gas fire features, and lighting often need licensed electrical or gas work. We have trusted partners in the metro we can refer.
Read up. Skim a few of our other blog posts so you know what to expect during construction (the woes of construction post is the honest version) and how the finished project will perform (the ground preparation post covers what happens below the surface).
Brace for weather impact on the schedule. This matters especially in the colder months. We work year-round, but cold-weather construction needs to take advantage of the warmer days. You may see our crew on site for 2 days one week and a full week the next. Concrete pouring, base prep, and gas line work all have temperature thresholds. We schedule around them and communicate the changes as they happen.
Bad weather also affects projects ahead of and behind yours in the queue. If a project before yours runs long because of a 4-day snow event, your start date slides back. If a project before yours wraps early, we may be at your house earlier than expected. We always reach out with major schedule changes, but it helps to know the cascade exists.
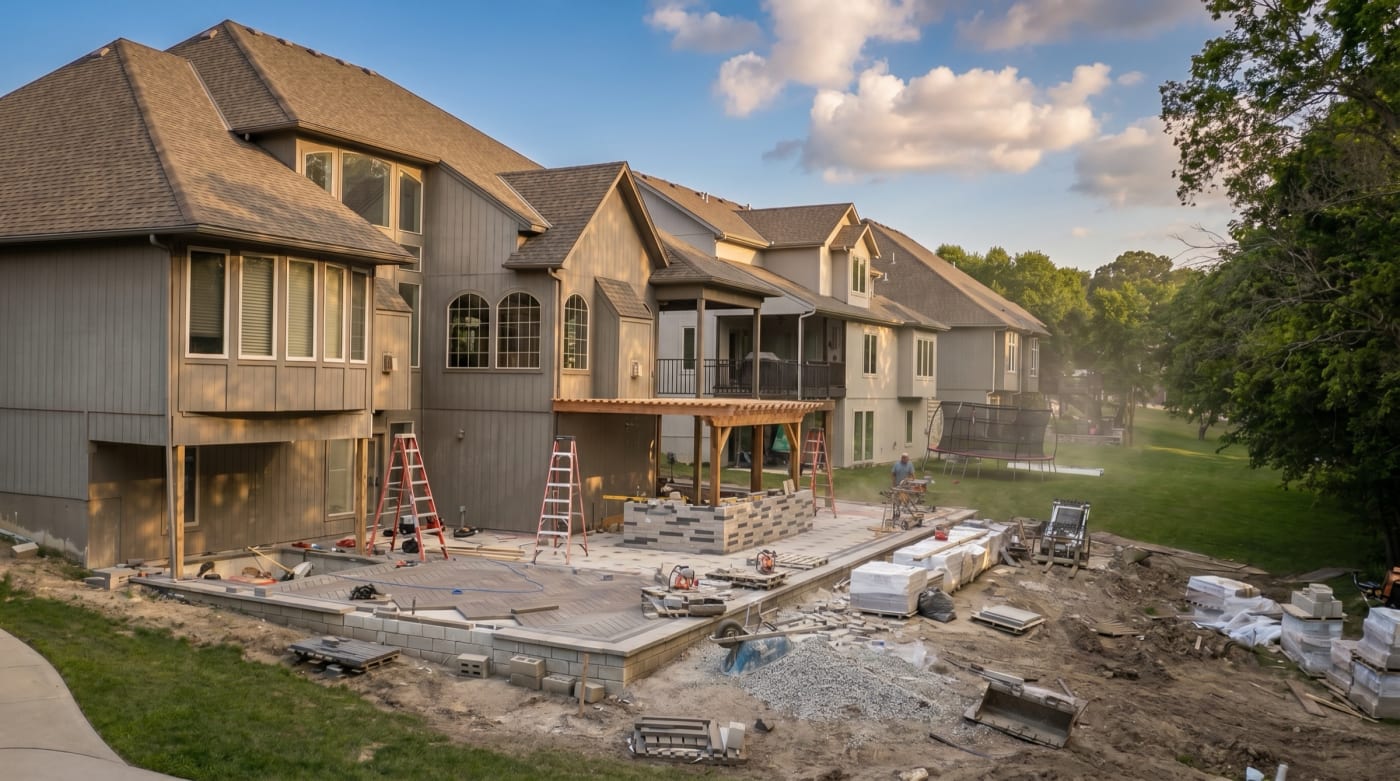
The day the crew shows up is the day the project becomes real.
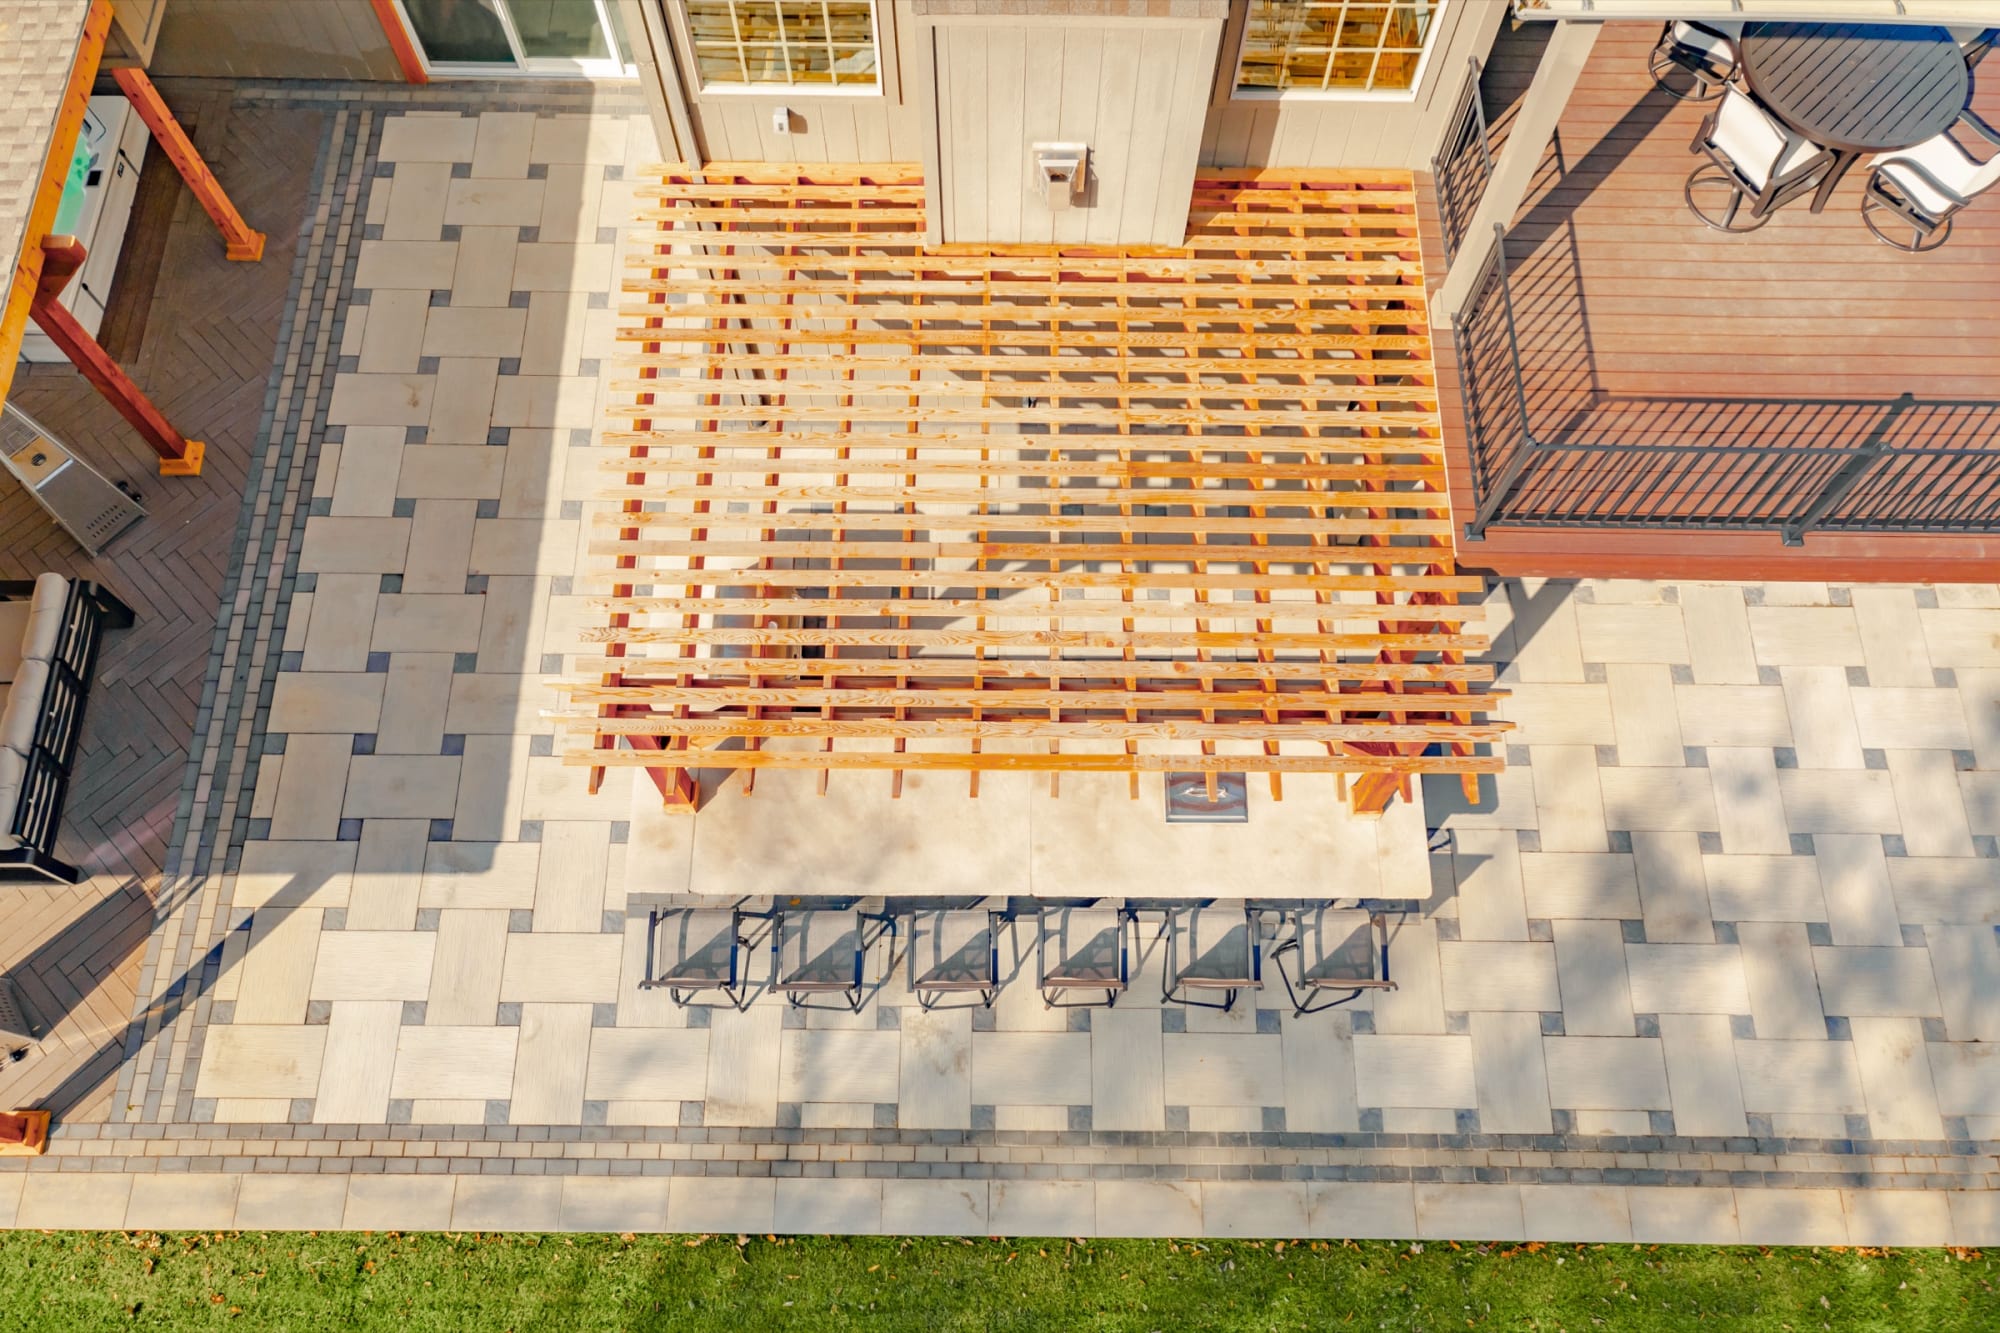
We send a specialized crew of 2 to 4 people who work full days during business hours until the project is complete. They have the equipment, the materials, and the schedule for your specific build. They do not bounce off to another job mid-project. They are on your patio until it is done.
If we lose days to weather, we sometimes work Saturdays or extra hours to make up the time. We will not work Sundays unless an emergency makes it necessary, and we will not work past sunset out of respect for your neighbors.
During the build there is very little for you to do other than enjoy watching it come together. Feel free to come outside and ask questions. The crew is happy to explain what they are doing. Just stay clear of operating equipment.
One real warning: the patio will look worse before it looks better. Days 5 through 15 are the rough middle when the demo is done but nothing is finished yet. That is normal. We covered the full emotional journey of construction in this post.

The project is finished when the patio looks the way the 3D rendering showed it would, plus the cleanup is done and the equipment is gone. A walkthrough with you happens on the final day. We point out features, walk through maintenance, hand off any documentation, and answer questions.
Two optional add-ons we typically discuss at this stage.
Sealing. Paver patios benefit from sealing to protect color and texture from UV exposure, weather, and stains. You can seal a patio yourself, but most homeowners prefer we do it. Sealing is an additional cost and a separate visit, typically 4 to 8 weeks after the install so the polymeric sand has fully cured.
Sod versus seed. Construction equipment crushes lawn no matter how carefully we work. We seed the disturbed areas as part of every project, with starter fertilizer and straw, and the grass typically fills in within 6 weeks during the growing season. Sod is the alternative. Faster green, no waiting, more expensive. We are happy to quote either approach.
The final invoice for the remaining 80 percent is due at completion. We accept check, ACH transfer, or credit card. If you have a question about payment options, the owner on your project will answer it on site, or you can call the office at 816-499-2547.
About 2 to 3 months after the project wraps, in the spring through early fall months, we may reach back out to ask whether we can come take marketing photos of the finished space. This is optional and only if you are comfortable with it.
The photo session typically takes 30 to 60 minutes depending on the project size. You do not have to be home. We send you a few of the best images afterward, which you are welcome to use for personal purposes, social media, or for your homeowner's insurance file.
We never share your personal information when we use the photos. Address, last name, identifying details all stay private. The photos appear on our website portfolio, on our social media, and in our design presentations to future clients who are deciding what materials or styles fit their vision.
You are welcome to opt out entirely. Some clients prefer their patio stays out of any marketing, and we respect that without question.
We saved the best stage for last. The patio is yours. The crew is gone. The dumpster is hauled away. The grass is starting to come back. The fire feature is ready for the first cool evening.
This is the part we built the whole company to deliver. A space you actually want to spend time in. A room outside that becomes the favorite room in the house. A patio that holds up for 30 years instead of falling apart in 5.
Use it. Use it more than you think you will. Use it for the small daily moments and the big seasonal events. Use it with your phone left inside. The patio earns its full cost when it becomes part of how you live, not just a feature of the home.
We are around for the long term. Questions, maintenance, future additions, all of it. Call us at 816-499-2547 or email hello@kansascityhardscapes.com any time.
How long is the typical project from first call to finished patio? For a project that is signed promptly after the design meeting: 3 to 5 months in the warm season, 4 to 7 months when winter weather is involved. Most of that is the queue and weather, not the actual build days.
How long is the actual build? A small patio is 5 to 10 working days. A standard backyard build is 2 to 4 weeks. A full outdoor living build is 4 to 12 weeks.
What if I change my mind on materials mid-project? Small changes are usually possible if the original material has not been ordered yet. Major changes after materials arrive or work has started typically require a change order with adjusted scope and pricing.
Do you guarantee the work? Yes. We warranty our installations. Specific terms depend on the materials and scope and are spelled out in the contract.
What happens if I am unhappy with something? Call us. We come back. Our reputation is built on long-term client relationships, not on one-time sales.
Can I add to the project after it is finished? Yes. Many clients add a fire feature, a pergola, or lighting a year or two after the initial patio. We are happy to come back for a second phase.
Can I bring my own materials? Generally no. We warranty the work, which means we need to control the materials. Bringing your own pavers, stone, or appliances voids our installation warranty.
If you are ready to schedule an estimate appointment, the easiest paths are calling our office at 816-499-2547 or booking through the Get Started page where you can pick a date and time from our calendar. If you are still gathering information, our Our Process page has the polished overview, our Project Calculator gives you a rough budget on your own, and our blog covers most of the practical questions. We are happy to answer anything else by phone or email.
Thirty minutes on site with our designer is all it takes to see what is possible. No pressure, no hard sell.
Schedule a Design Call